Get Walls Ready for Paint Without Visible Seams
Taping and finishing services in Kalispell deliver smooth, paint-ready surfaces after drywall installation
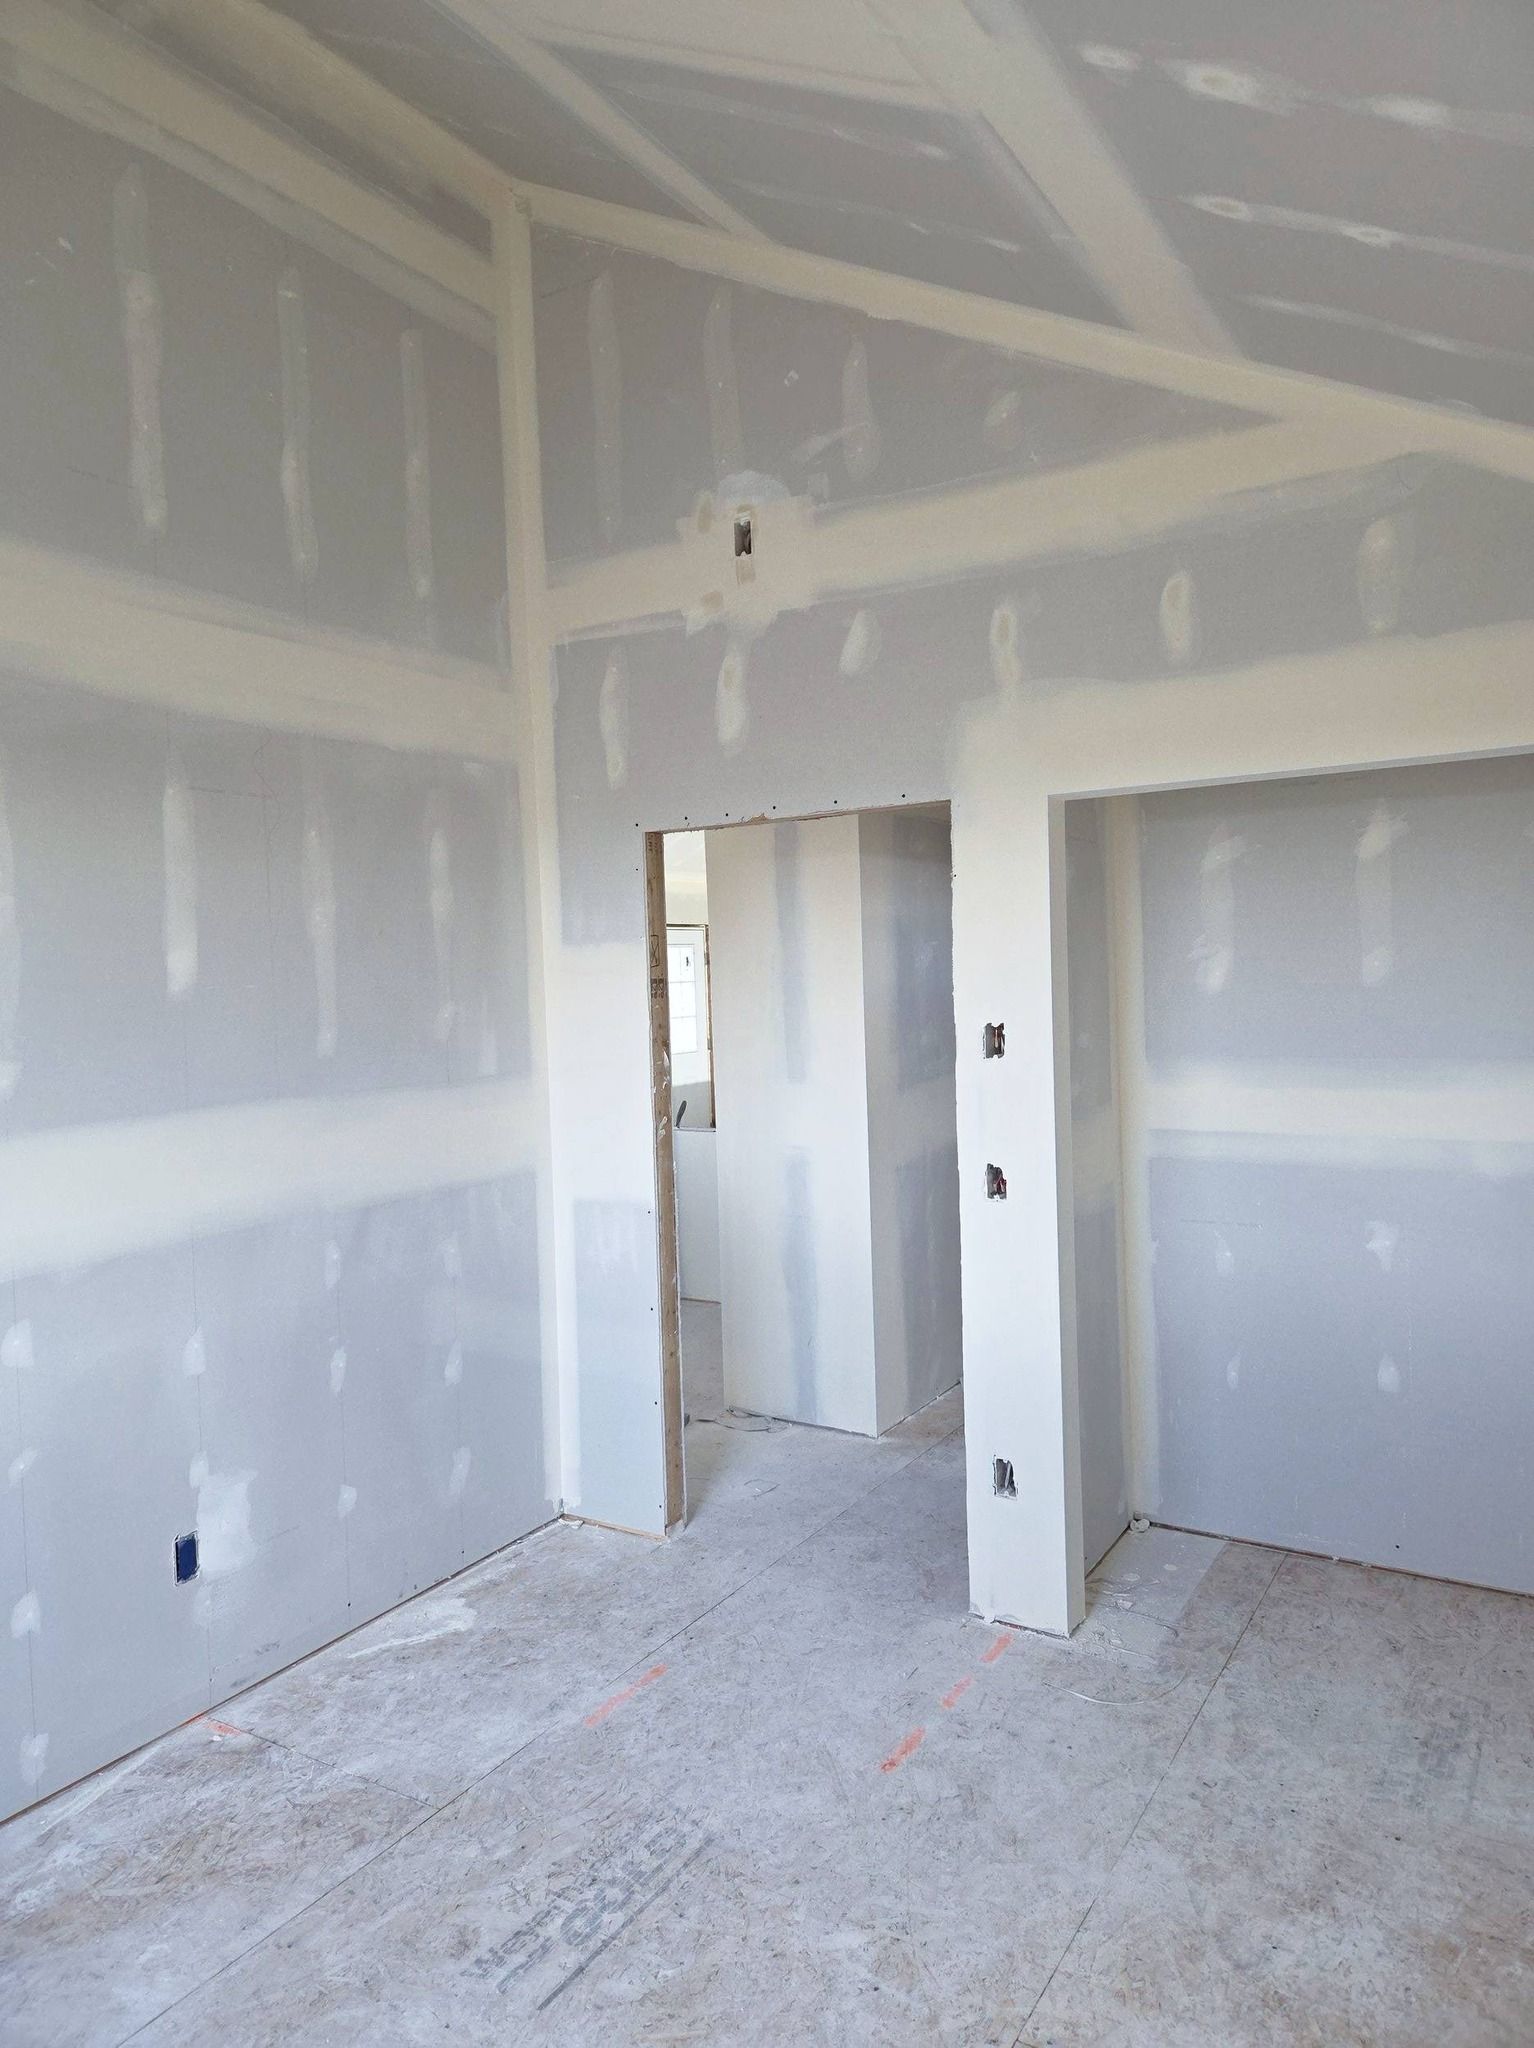
Your drywall is hung, and now you need the seams, corners, and fastener dimples turned into smooth, continuous surfaces that disappear under paint. Taping and finishing is where raw board becomes a finished wall, and the quality of this step determines whether you see ridges, shadows, or joint lines once the room is lit and painted. JJ's Drywalling applies multiple coats of joint compound with careful sanding between layers to build strong seams, sharp corners, and flush transitions that hold up to close inspection and angled light in your Kalispell home.
The process involves embedding paper or mesh tape over seams, applying a base coat of mud to cover the tape and fill gaps, then adding progressively wider finish coats that feather out several inches beyond the joint. Fastener holes are filled and smoothed, and inside and outside corners are finished with tape or metal bead depending on the location and expected wear. Dust control measures are used throughout to minimize the fine particulate that sanding creates, especially in occupied homes where furniture and flooring need protection.
Scheduling taping and finishing in advance helps align this stage with painting timelines and keeps your project moving without gaps or delays.
Why Multiple Coats Matter for Invisible Joints
Finishing work in your Kalispell home requires at least three coats over taped seams to build up a surface that is flush with the surrounding drywall. Each coat is applied wider than the last, sanded smooth once dry, and checked for low spots or ridges before the next layer goes on. This layering creates a gradual transition so the seam does not telegraph through paint or show as a line when light hits the wall at an angle.
After the final coat is sanded, you will see walls and ceilings with no visible joints, smooth corners, and a uniform texture ready for primer. JJ's Drywalling uses edge detailing techniques to keep corner lines clean and straight, and joints are checked under raking light to catch imperfections before finishing is considered complete. The result is a surface that looks like one continuous piece of material rather than a series of boards fastened together.
Finishing does not include priming or painting, which are separate trades that follow once all mud work is complete and dust is cleaned up. If your project involves textured ceilings or walls, that texture is applied after finishing and before painting. New drywall absorbs paint differently than joint compound, so a quality primer is necessary to equalize the surface and prevent flashing or color variation in the final coat.
Homeowners Often Wonder About Timing and Preparation
Questions about drying time, dust, and readiness for paint are common, especially when coordinating with other contractors or living in the home during the work.
What is the difference between taping and finishing?
Taping is the first step where paper or mesh tape is embedded over seams with a base coat of mud, while finishing refers to the additional coats and sanding that smooth the surface and make joints invisible under paint.
How long does each coat need to dry before sanding?
Each coat typically needs twelve to twenty-four hours to dry depending on temperature, humidity, and coat thickness in your Kalispell home, and rushing this step can cause tearing or damage to the compound.
When should I use mesh tape instead of paper?
You should use mesh tape on ceilings or in areas with minimal movement since it is easier to apply but less resistant to cracking than paper tape, which bonds more strongly and is preferred for high-stress seams like long walls or corners.
Why do some finished walls feel rough even after sanding?
Finished walls feel rough when sanding is incomplete, when the final coat is applied too thick, or when dust settles back onto the surface before it dries, so proper lighting and dust removal are critical during final prep.
How much dust will taping and finishing create?
Sanding joint compound creates fine dust that spreads easily, so dust barriers, ventilation, and cleanup are necessary after each sanding session to protect floors, furniture, and HVAC systems in occupied homes.
Aligning finishing work with your painting schedule ensures the surfaces are fully cured and cleaned before the next step begins. Reach out to review your project timeline and coordinate access, material needs, and any special surface requirements in your Kalispell home.